
So if you’ve never read a post by Janelle Shane, stop right now, put down your drink, and check it out. She trains neural networks on real-world datasets to see how well they can learn to imitate the human-made examples. You might have read an article from a while back about recipe titles like Beasy Mist and Out Of Meat. Recently, she posted the results of training with an assortment of names of cookies. While everybody else on Twitter was rhapsodizing about Apricot Dream Moles, I wanted some of those old-timey-sounding Brown Cheesey Cookies.

The first challenge was working out how to get actual cheese, not just cream cheese, into a cookie. There’s a company called Kelly’s Kitchen that makes a product called Wisconsin Cheese Fudge, which shows up in my local market during the holiday season. It’s made with Havarti and is seriously addictive. I don’t often have Havarti on hand, but we do keep Babybel in stock and I’ve had good luck using it for cheese bread. As for the “brown” part, I wanted them NOT to be chocolate, just…brown. Molasses and whole-wheat flour seemed like a winning solution, and the recipe I started from also included cinnamon. Yay, more brown!
I elected not to melt the cheese, in case it behaved like mozzarella or cheddar and started separating or clumping. Instead, I used a heavy-bladed pastry blender to, um, cut the cheese, adding sugar a little at a time as it was incorporated. I thought of a food processor, but as mine is an 11-cup model, this small an amount of ingredients would have just rattled around and not got much done. The final mixture was tasty and quite fluffy, reminiscent of the flavor of the cheese fudge that had inspired me. Seemed like a win so far.
The first cookie-dough recipe I thought I might work from turned out to be unleavened and eggless. While this is great for holding a shape, it wouldn’t have given the texture I wanted. Looking through the same cookbook (BHG Simply Perfect Cookies, 1999 — one of my go-to’s), I found a recipe for shaped cookies that not only accounted for adding sweetened liquid to part of the dough, but also used an egg, a bit of baking powder, and, as I mentioned above, cinnamon. We opted for a spice blend instead, to make things more interesting, but a single spice would work just fine. Rather than add extra flour to balance out the moisture in the molasses, I subbed in some whole-wheat flour, which would soak up some of the liquid while resting in the fridge. As for molasses being acidic liquid sugar (actually liquid, not just a baking liquid like all sugars), it turns out that, despite dire warnings from my sources, adding just 2 Tb of it isn’t enough to screw up the recipe completely. I wouldn’t add much more molasses without adding a bit more flour, but when you don’t need it to hold a crisply defined shape, the extra spread, loft and tenderness from the extra sugar and the molasses acidity is actually a good thing.
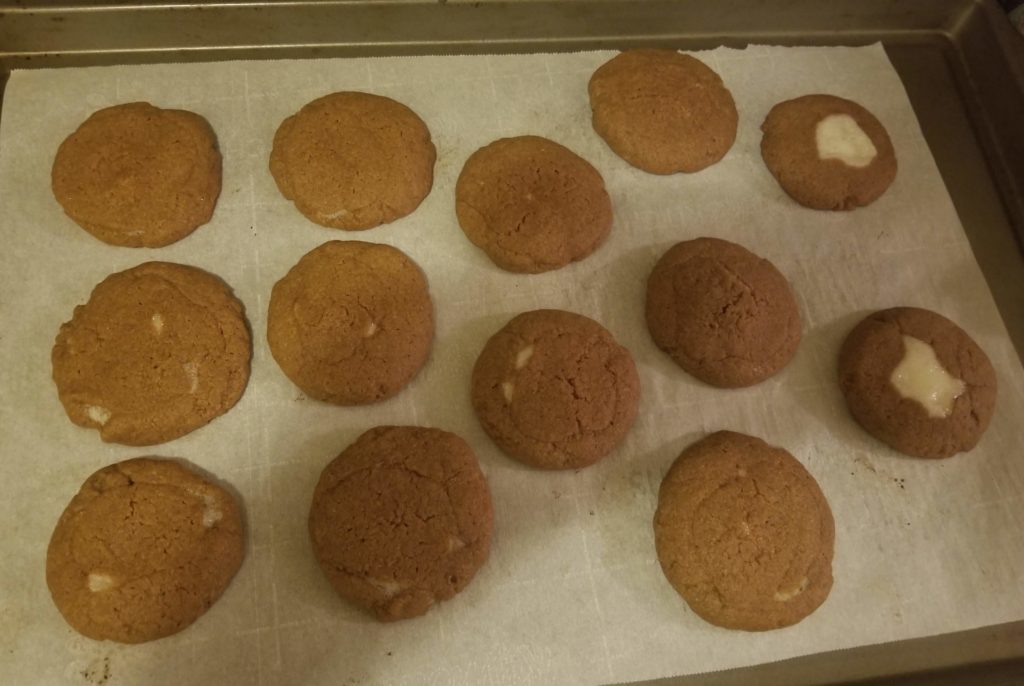
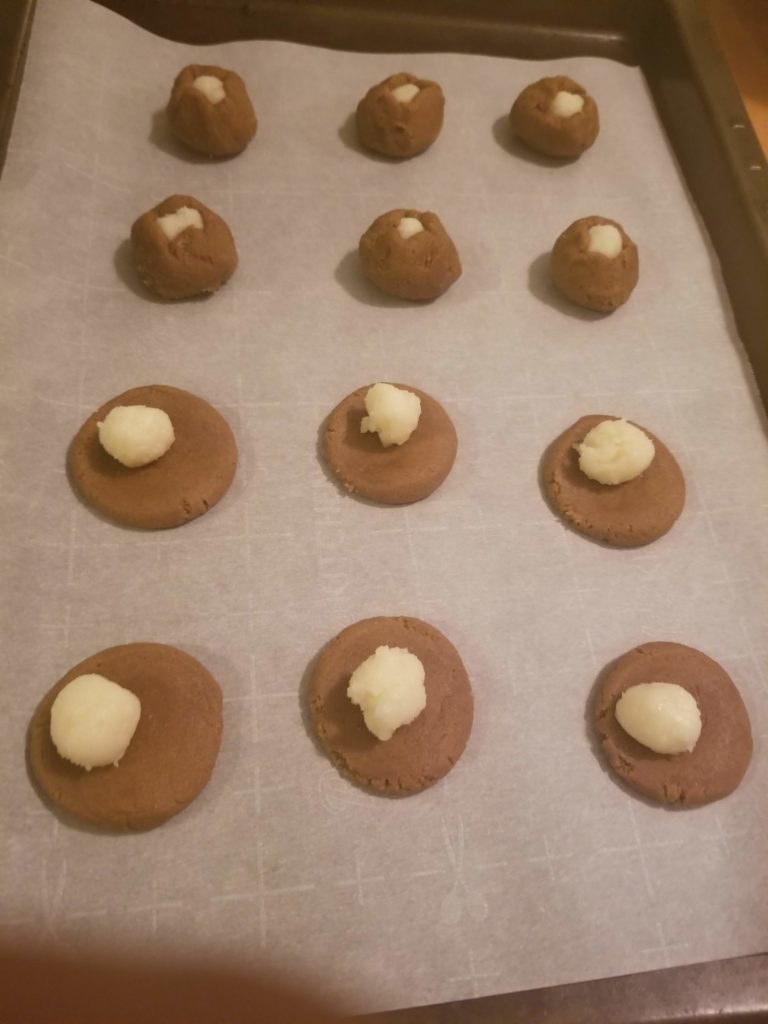
We ran out of cheese at 38 balls with 2 more left to do. As a secondary experiment, we topped some of the cookies with “lids” before flattening. The six on the left were just squished and then checked for leaks; the five on the right, by the two open ones, were carefully pressed around the edges. Not a whole lot of difference in appearance, but if you do it this way, you’ll need to increase baking time just a smidge. If you ball up everything to start and count it out, you can use any extra dough to make the tops look more like the original drawing.

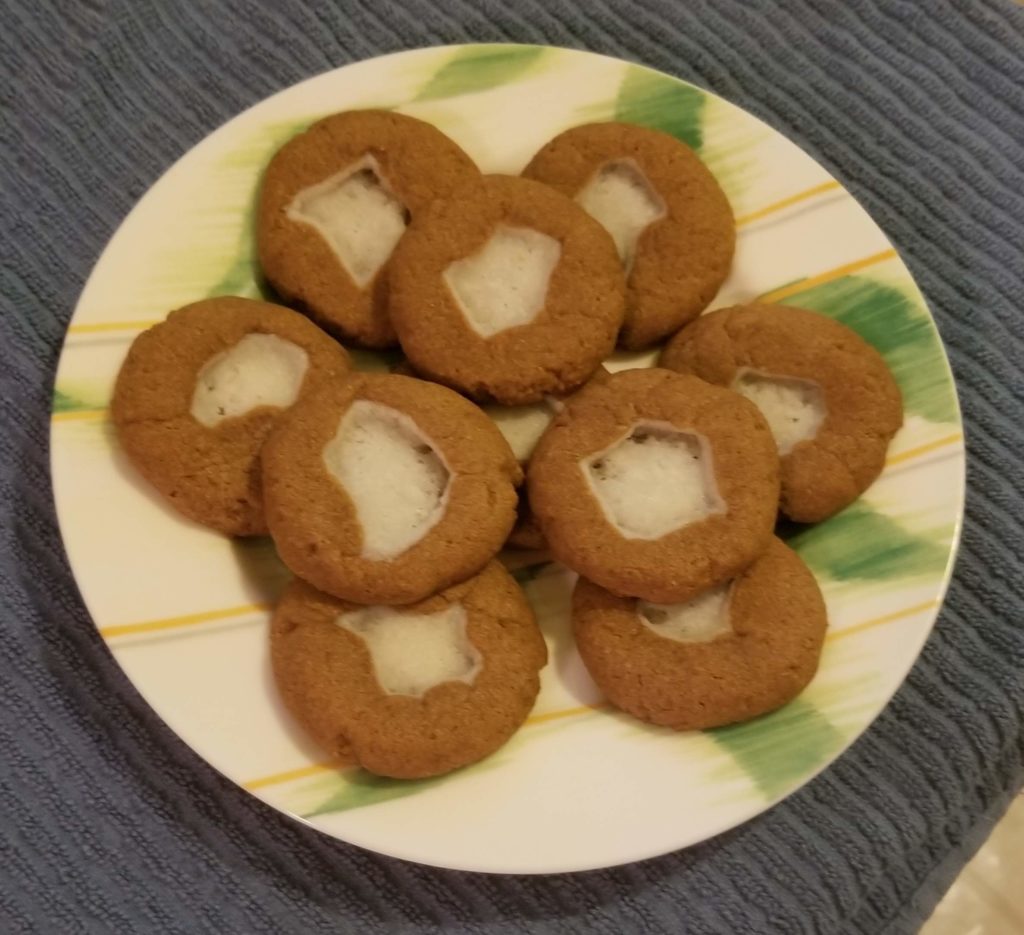
The cheese can sort of make a plaque inside the cookie, but I think it looks charming, like a cookie you’d make from a Ladies’ Aid Society collection you found in a grandparent’s attic. They taste good too, reminiscent of apple pie with cheese. The cheese flavor is stronger when the cookies are warm. My son, previously on the fence about Babybel, now likes it. In cookies, at least. I’ll take that as a win.
Brown Cheesey Cookies
The Brown:
- 3/4 c salted butter
- 3/4 c granulated sugar
- 1/2 tsp cinnamon or other spice/spice blend (we used a heaping 1/2 tsp of Penzey’s Pie Spice)
- 1/2 tsp baking powder
- 2 Tb dark molasses
- 1 egg
- 1 t vanilla
- 1 c whole-wheat flour
- 1 c all-purpose flour
Beat butter with an electric mixer (or by hand) until creamy. Add the sugar and cream together for 1-2 minutes, then add spice, baking powder, and molasses and beat together, scraping bowl often, until well combined. Scrape mixture into bottom of bowl, add egg and vanilla, and mix well. Beat in whole-wheat flour and as much of the all-purpose flour as your mixer will handle. Mix in any remaining flour by hand with a wooden spoon. Test dough with your fingers: it should be moist and pliable but not immediately sticky. If it is sticky, add flour a tablespoon at a time, mixing thoroughly, until the stickiness goes away. Wrap dough tightly and refrigerate for 30-60 minutes.
The Cheesey:
- 6 pieces Babybel (or about 4.5 oz/126g of other soft mild cheese), unwrapped, room temperature
- 1/4 c granulated sugar
Place cheese in a shallow bowl or plate. Sprinkle 1 T of the sugar over the cheese and cut in with a pastry blender (mine is a heavy OXO). Continue adding sugar as it is incorporated, a tablespoon at a time, scraping pastry blender often. When all the sugar has been added, stir with a rubber spatula, pressing hard to break up any remaining chunks of cheese. (Alternatively, you could do this in a small food processor or possibly even a blender. If you grate the cheese and toss it with the sugar before letting it warm up, you might even be able to do it with the paddle on a stand mixer.) Refrigerate the mixture until time to use it.
The Cookies:
Heat oven to 375F. Line baking sheet(s) with parchment paper. With your hands, roll about 1/2 tsp of cheese mixture into a 1/2-inch ball and set it on a plate. Repeat with remaining cheese. You should have at least 36 balls; redistribute if you don’t have enough. Roll the cookie dough into 1-inch balls and flatten them to about 2-1/2 inches across. Top each with a ball of cheese mixture, bringing the dough carefully around to cover most of the cheese. Set balls 2 inches apart on a baking sheet and flatten slightly with your palm or the bottom of a glass. Check that the edges haven’t cracked open (unless you like browned cheese in your cookies). Any leftover dough can be used to make designs over the exposed filling, or just baked plain as cookies about the same size. Bake about 10 minutes or until edges are set and any visible cheese is puffy. Cool 5 minutes on baking sheets, then remove to wire racks to cool completely. Makes about 36.